Rebuilding our campervan from bare metal - how mould changed our van Beza
After our first winter, Beza, our 9-seat van with a bed, gave us a nasty surprise. While it stood over the winter, damp got inside and mould appeared. We soon found out that the original conversion had not been done very carefully. There was only one choice: strip everything down to bare metal and build a new interior ourselves, from the start.
It took us about four months of evenings after work, from spring to the end of July 2024. How Beza joined our family is in our post Beza, our campervan.
Mould after the first winter
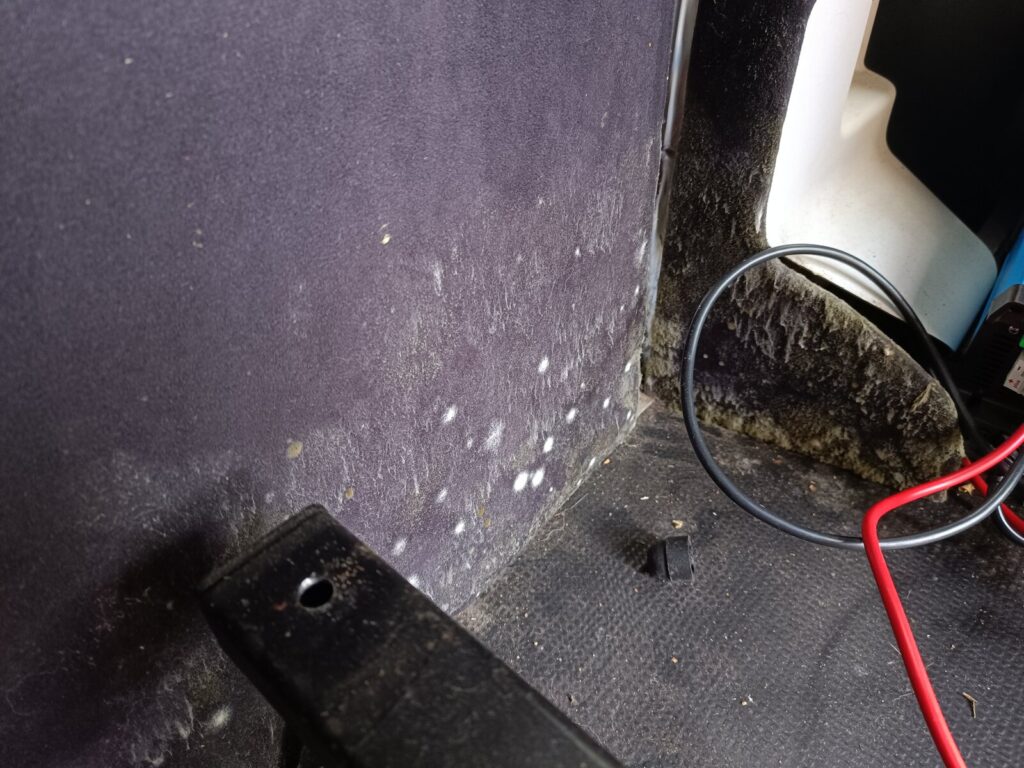
White spots of mould appeared on the fabric that covered the walls, and a dark layer collected in the corners.
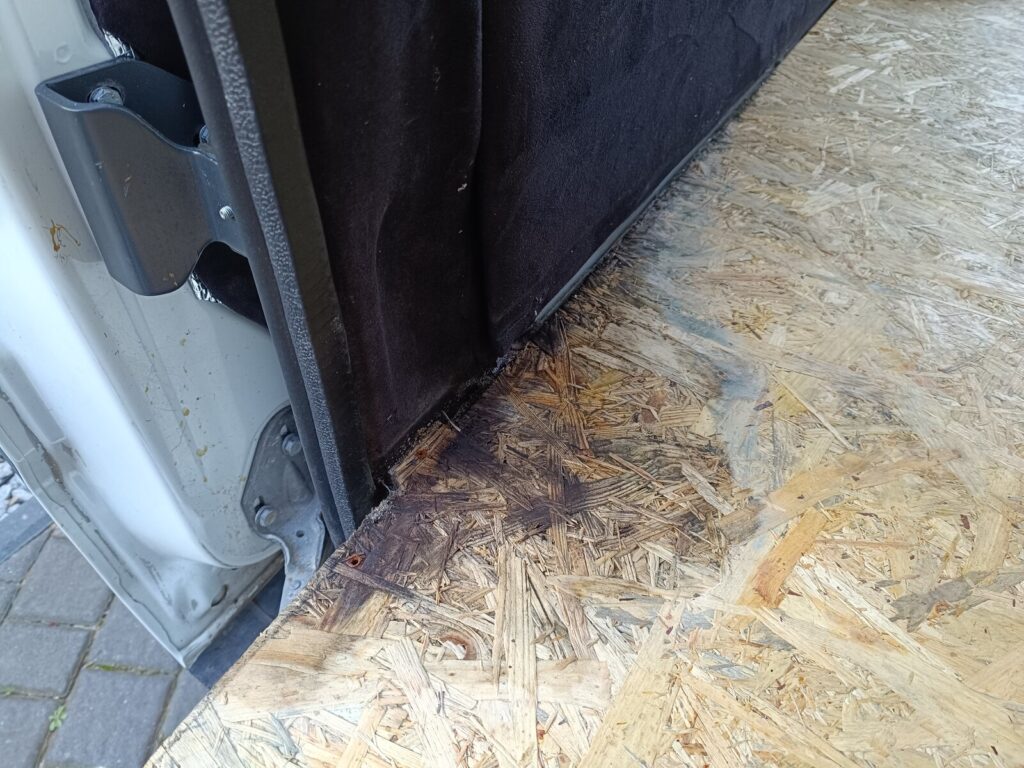
By the door, the OSB boards on the floor had dark water stains. The damp came from several things at once. In winter the van stood unheated, the air inside did not change, and with big differences in temperature water formed on the metal under the badly fitted insulation.
Stripping the van to bare metal
Everything that could be unscrewed came out: the bed, heavy wooden beams, OSB boards, wall panels and the old insulation. Only the seats, the cables and the metal were left.
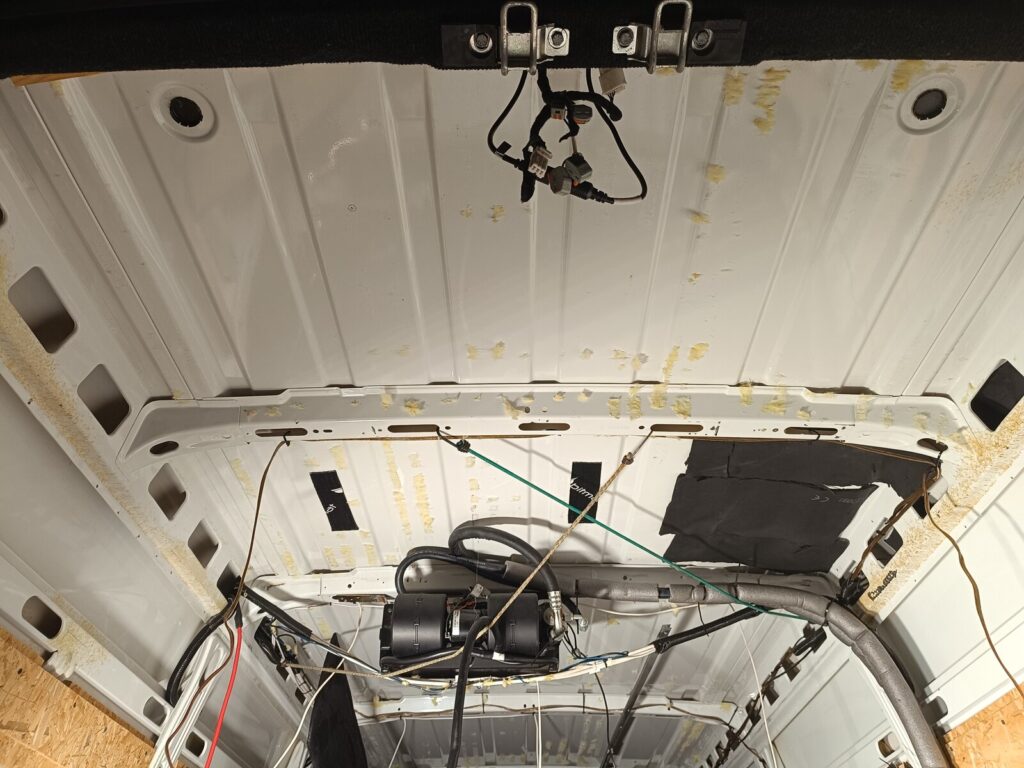
While we were at it, we fixed all the bodywork problems from the inside. It was also a good time to make the van lighter. Beza has a maximum weight of 3.5 t, so every kilo less in the conversion means more room for us, our bags and the SUP board.
Insulation, layer by layer
This time we did the insulation carefully, one layer at a time. On the metal we put:
- bitumen mats,
- Styrodur, hard boards of extruded polystyrene (XPS),
- polyethylene foam,
- Alufox, a foam with aluminium foil,
- and finally plywood covered with fabric.
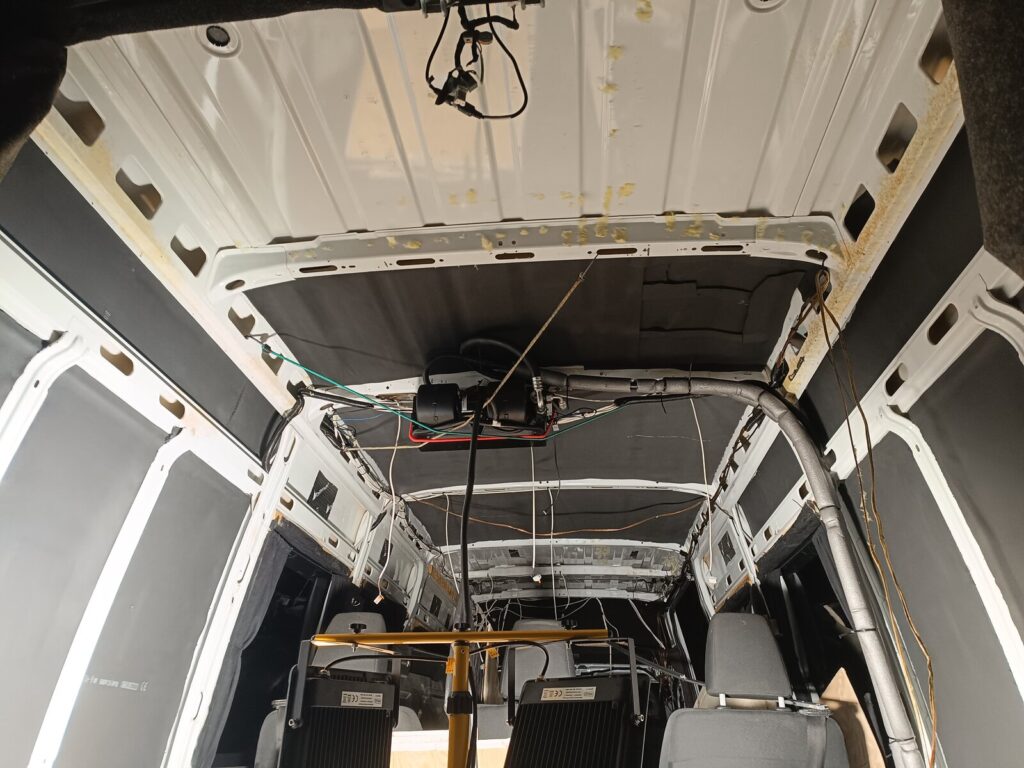
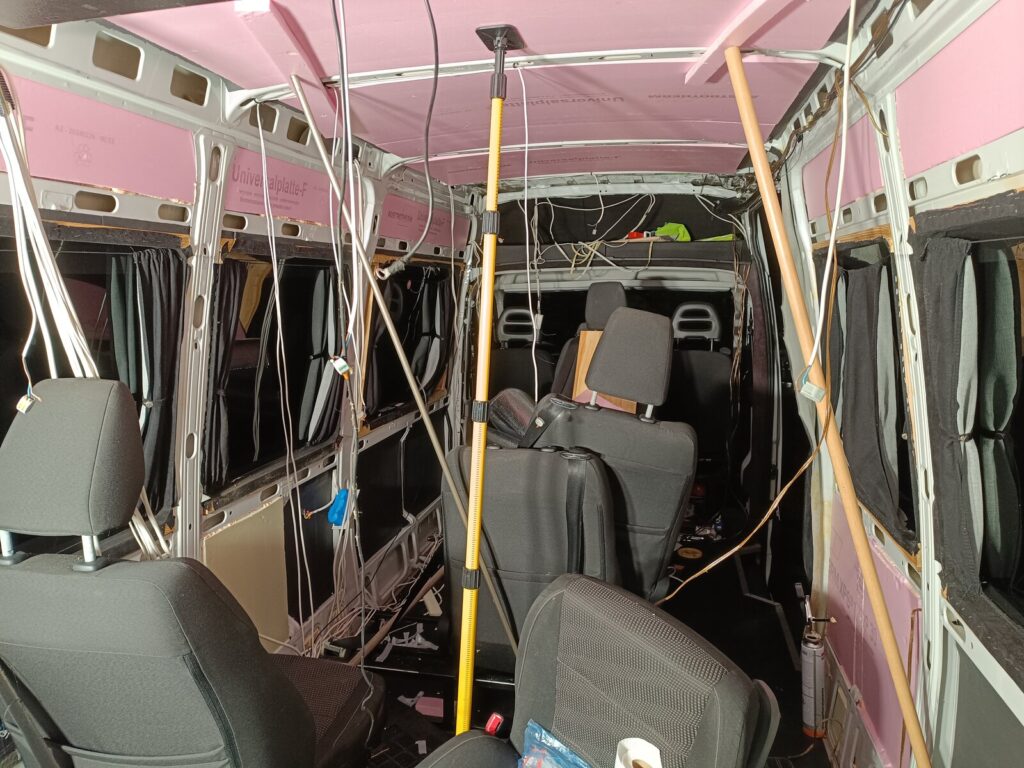
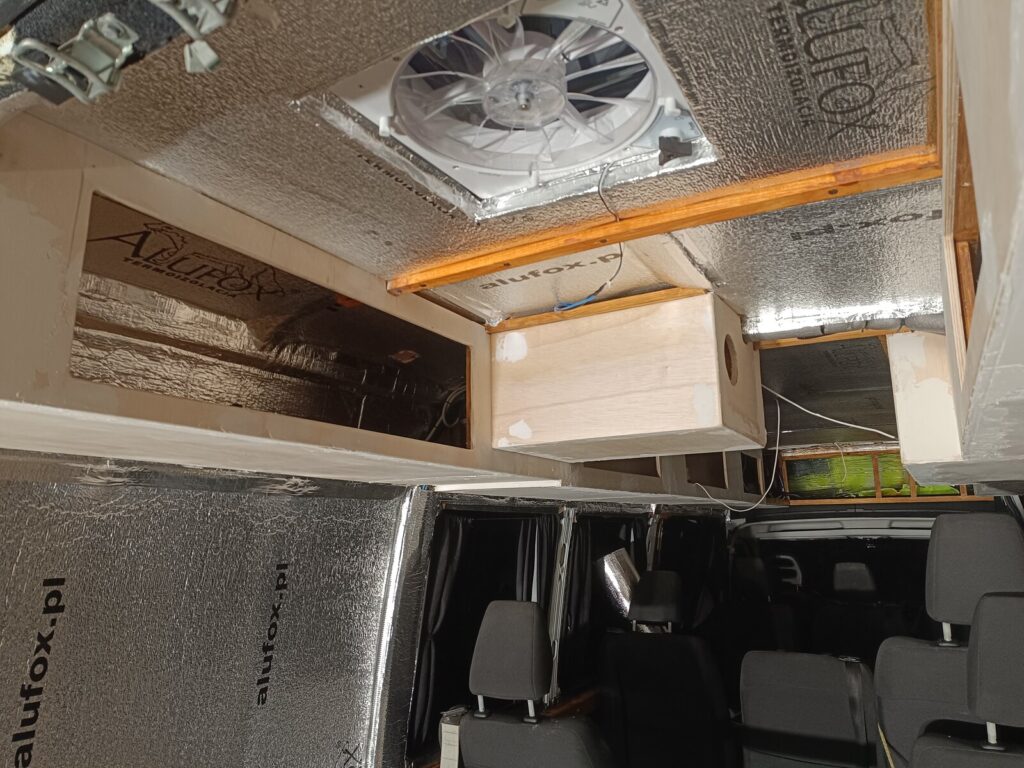
We glued the pink Styrodur boards to the walls and the ceiling, between the ribs of the body. For a few weeks the inside of Beza looked like a doll's house.
Good to know
Bitumen and butyl mats do not keep the heat in. They make the metal stiffer, so it rattles and booms less while you drive. In other words, they make the van quieter. The next layers, in our case Styrodur and foam, keep it warm.
A new floor
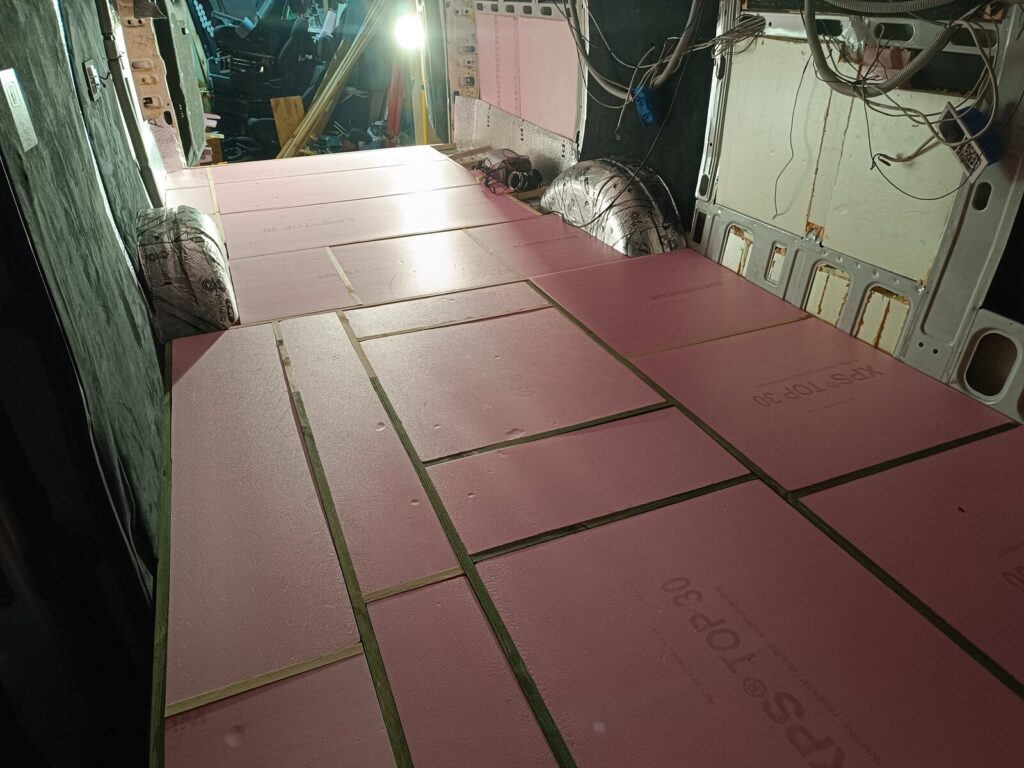
We raised the floor by 4 cm. Between wooden battens we laid Styrodur boards, so there is now a layer of thermal insulation under our feet that was not there before.
A light interior made of Falcata plywood
Instead of heavy beams and OSB boards we chose light materials. The walls, cupboards and bed are made of Falcata plywood. Its maker gives a density of 310-340 kg/m³, which is about half of what an OSB board has.
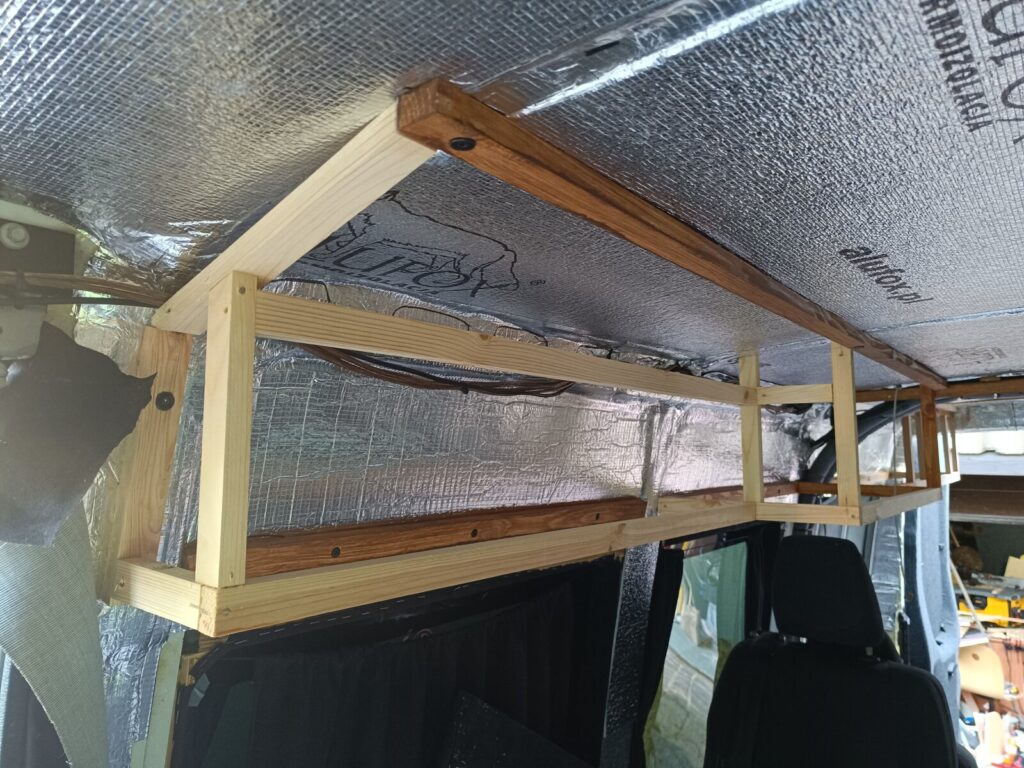
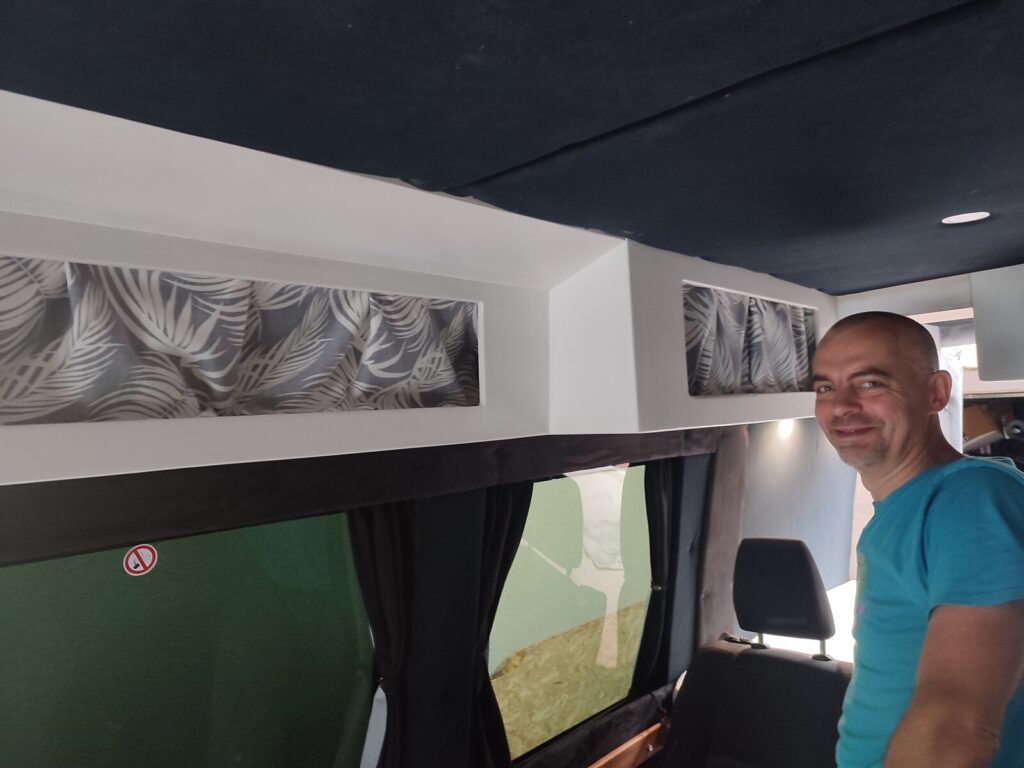
New cupboards now run under the ceiling along the whole length of the van. First we built wooden frames, and we covered the whole inside, walls and ceiling, with Alufox.
The bed frame sits on metal rails. This way the interior is lighter and also more practical than the old one.
Roof windows with fans
The mould taught us one thing: in a van where several people sleep, the air has to move. That is why we put two windows with fans in the roof.
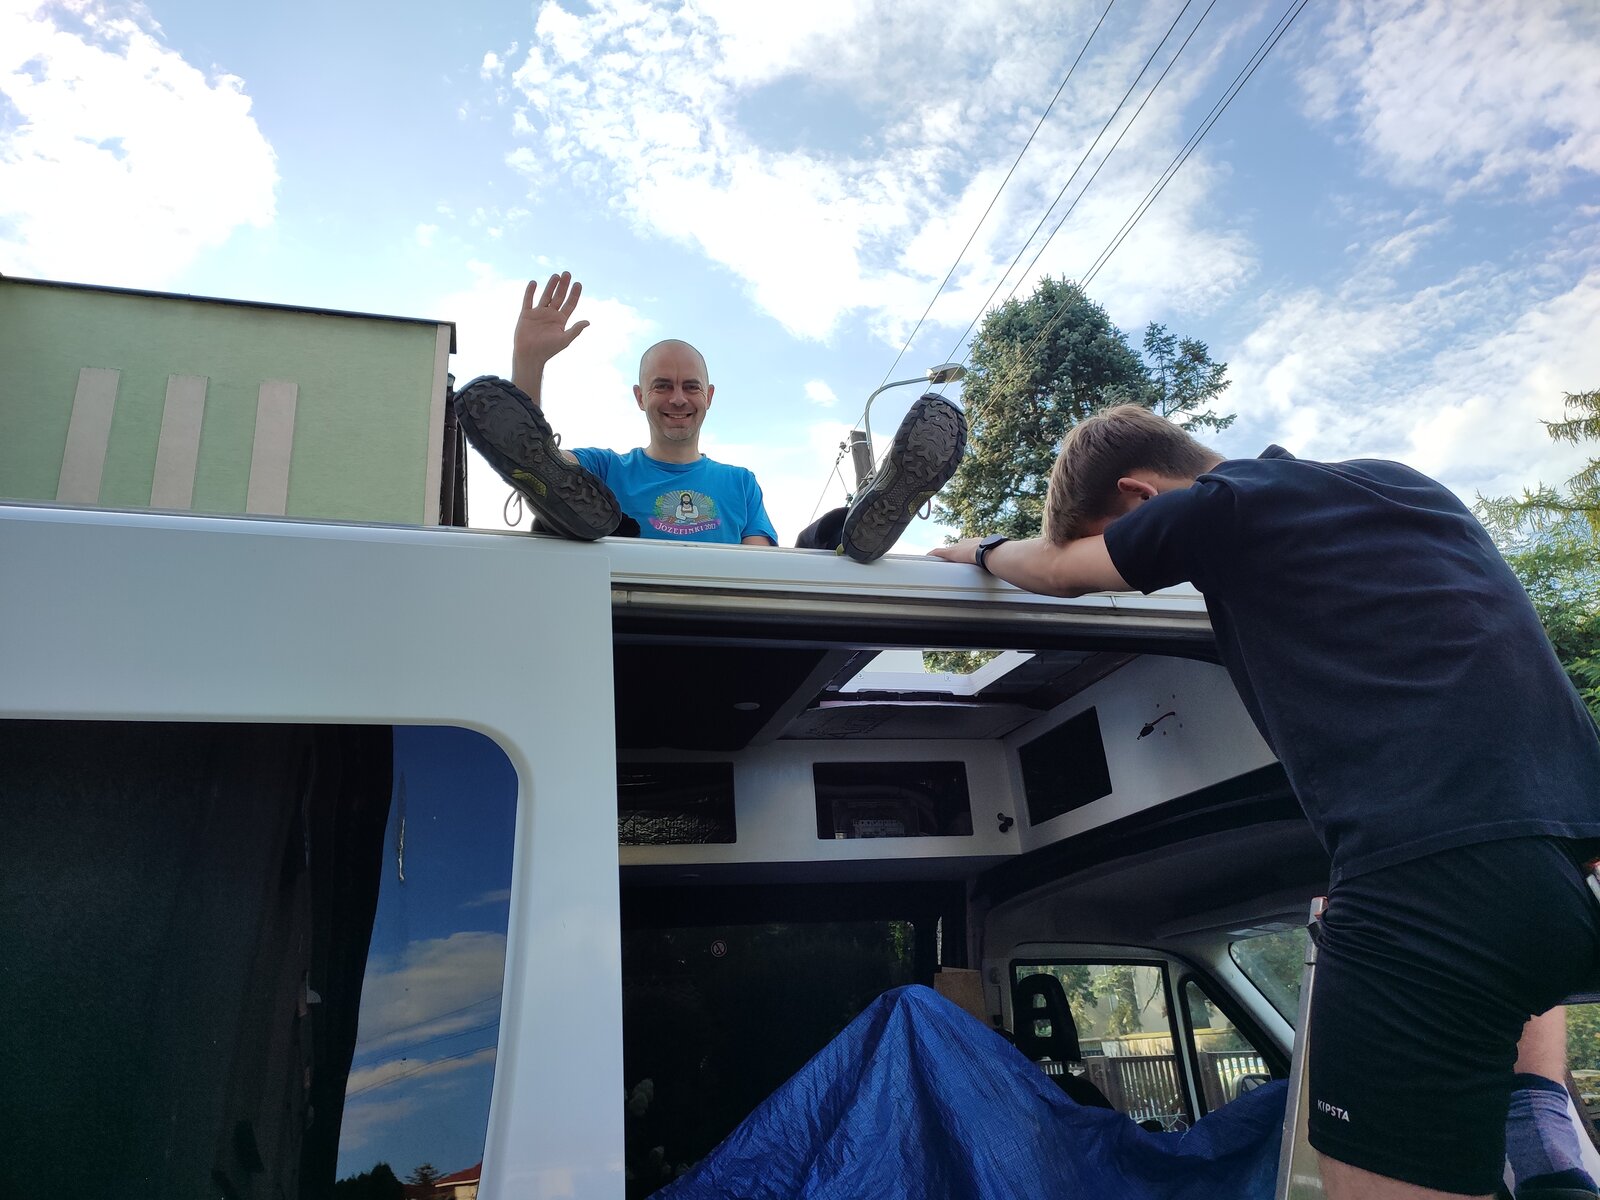
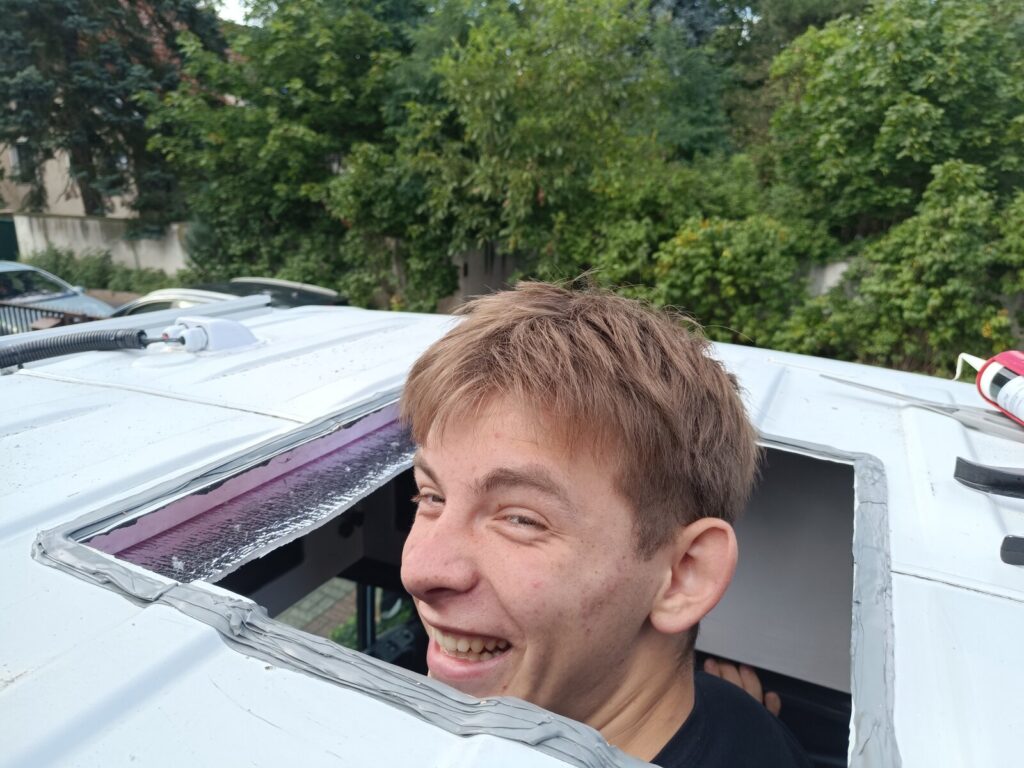
When the first window was in place, our son checked what the world looks like from the roof of Beza.
Power from the sun
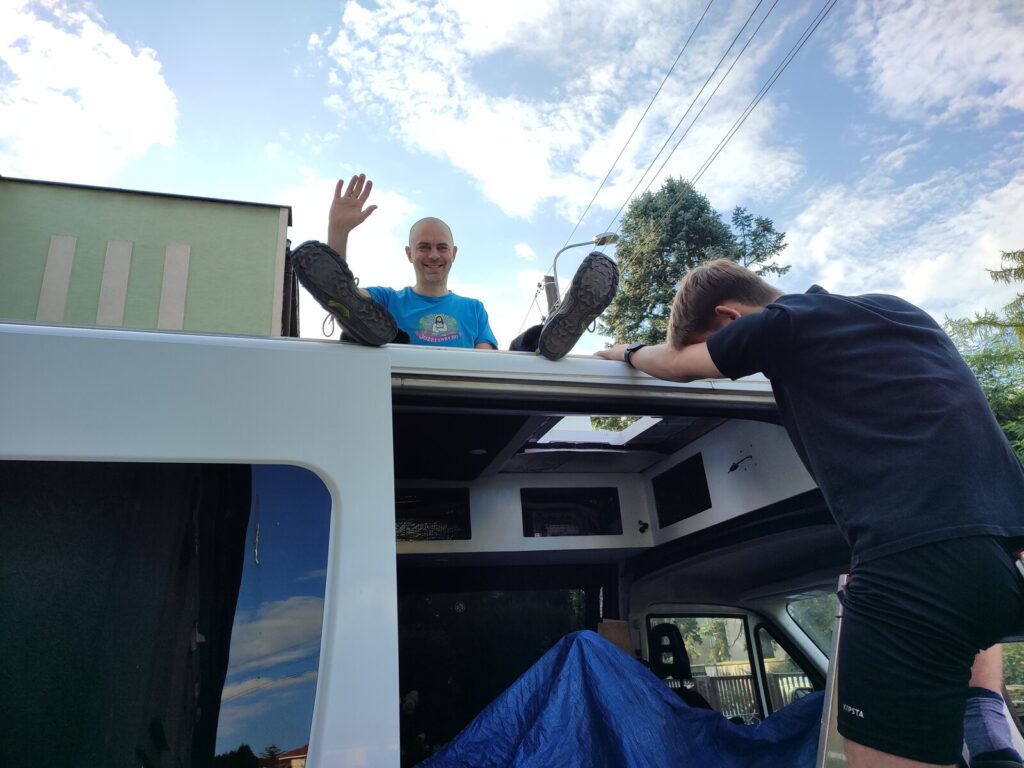
Dad fitted a solar panel on the roof and put in a completely new electrical system inside.
Ready for the summer holiday
At the end of July 2024 the new interior was ready: light walls, cupboards above the windows, new lights and fresh air from the two roof windows. A few days later we set off on holiday in it.
How we sleep in Beza after the rebuild
The new interior gave us more places to sleep. On our 2024 summer holiday we slept like this:
- Mum and Dad on the bed at the back,
- two of our daughters above the seats,
- our youngest daughter in a travel cot on the fourth row of seats,
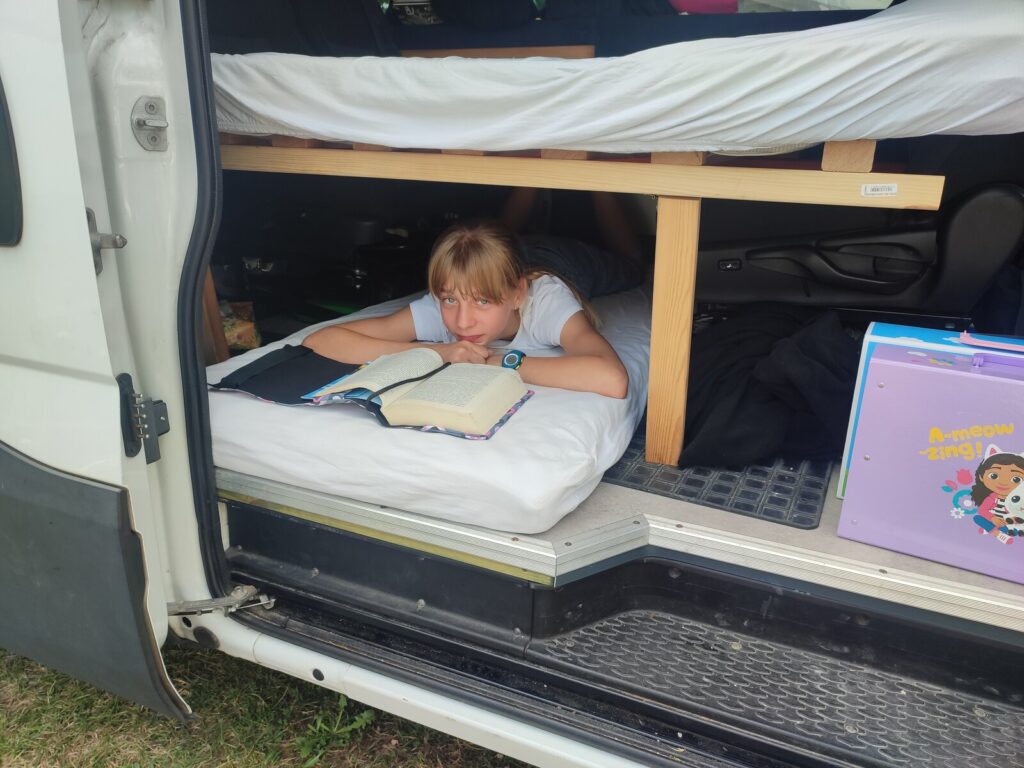
- one more daughter under the bed frame, across the van.
The space under the bed also works well as a reading corner.
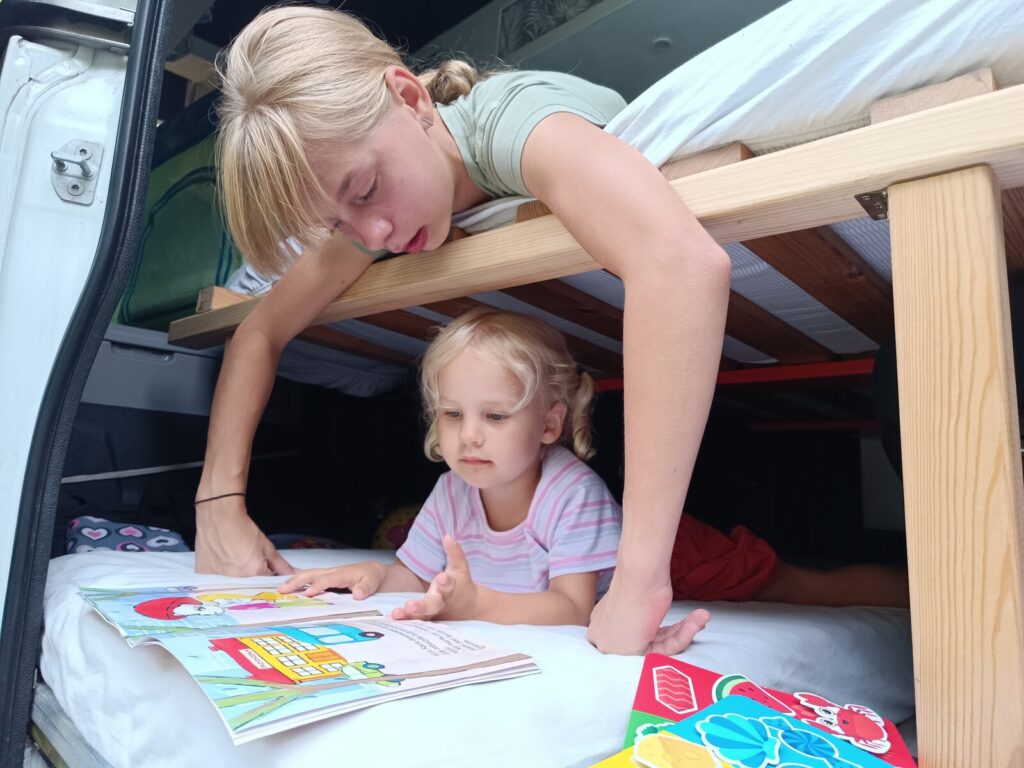
And when the youngest lies at the bottom and her big sister looks down from above, Beza turns into a bunk bed house.
Beza changes step by step
Our campervan was not built in one go. Step by step:
- summer 2023, right after we bought it and before our first holiday: a platform on the seats that made a second bed for the kids, and aluminium rails for an awning,
- spring and summer 2024, after the first winter: the rebuild from bare metal that we describe in this post,
- spring 2026: a third bed, so now six people can sleep in Beza comfortably: two at the back, two at the level of the third and fourth rows of seats and two at the level of the second and third rows.
Our first holiday in Beza, before the rebuild, is in the post Our first campervan holiday: Bavaria, Lake Garda and Lago di Ledro.
Practical info
Checked in November 2026.
Where damp in a campervan comes from
- An unheated van where the air does not change in winter easily gets damp when the temperature goes up and down a lot.
- Water also comes from inside: from people breathing at night, from cooking and from wet clothes. Warm air turns into water on the cold metal, most often on the ribs of the body, which stay cold even with good insulation.
- Insulation alone is not enough. You also need ventilation, best of all a roof vent or a roof fan.
- The insulation should sit tight against the metal, with no gaps where water can collect.
How to store a campervan over winter
- Warmth and moving air work best. For a long stop, moisture absorbers or an electric dehumidifier help.
- Before winter, leave the cupboards open, take out the bedding, pillows and mattresses, and leave the roof vents slightly open.
- Check the van and air it from time to time, before mould has a chance to grow.
Materials
- Bitumen mats: they make the van quieter, they do not insulate.
- Styrodur (XPS): it does not soak up water and works well on the floor and walls.
- Falcata plywood: much lighter than OSB and birch plywood. The density depends on the maker, so check the product sheet.
More from our trips
Watch the videos from our trips on YouTube and see photos from the road on Instagram.